


Struggling with constant reminders, forgotten water bottles, and lost homework? Our customizable ADHD printable routines can help calm the chaos in your home.
As ADHD parents, it’s incredibly important that we help support our kids’ executive functioning skills. And at the same time, we don’t want to give hundreds of reminders. Printable routines are a great way to support your child in becoming more independent and reducing the stress of chaotic mornings and bedtimes.
We have created routines that you can easily customize for your family, and included extra bonuses with each routine! You can shop all of our routines and printables in our shop.
Wondering how this all works? We’ve got you covered. Here are a few simple tips to help you make the most of your printable routines for ADHD kids.
Note: The Childhood Collective is a participant in the Amazon Services LLC Associates Program, an affiliate advertising program. As an Amazon Associate, we earn from qualifying purchases, at no cost to you!
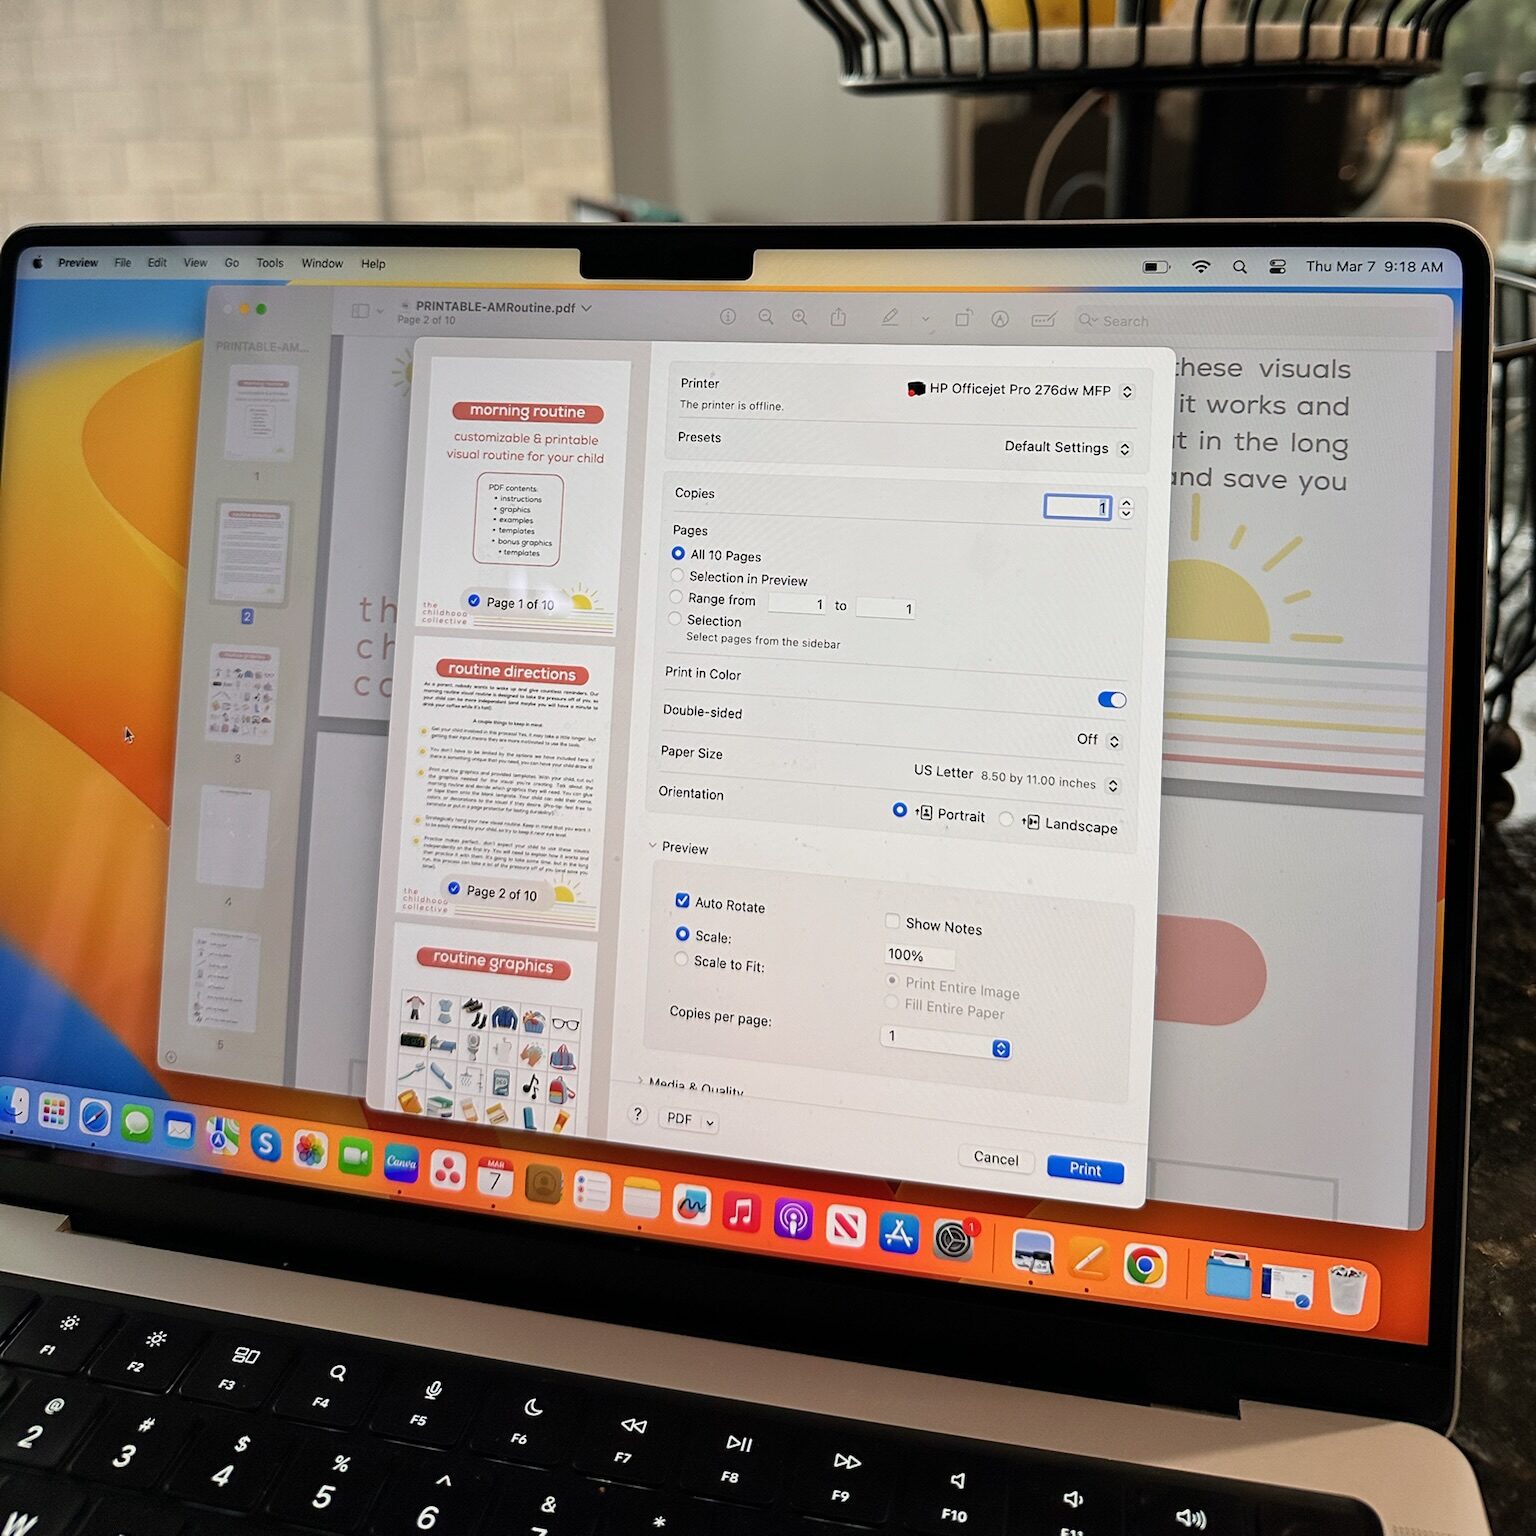
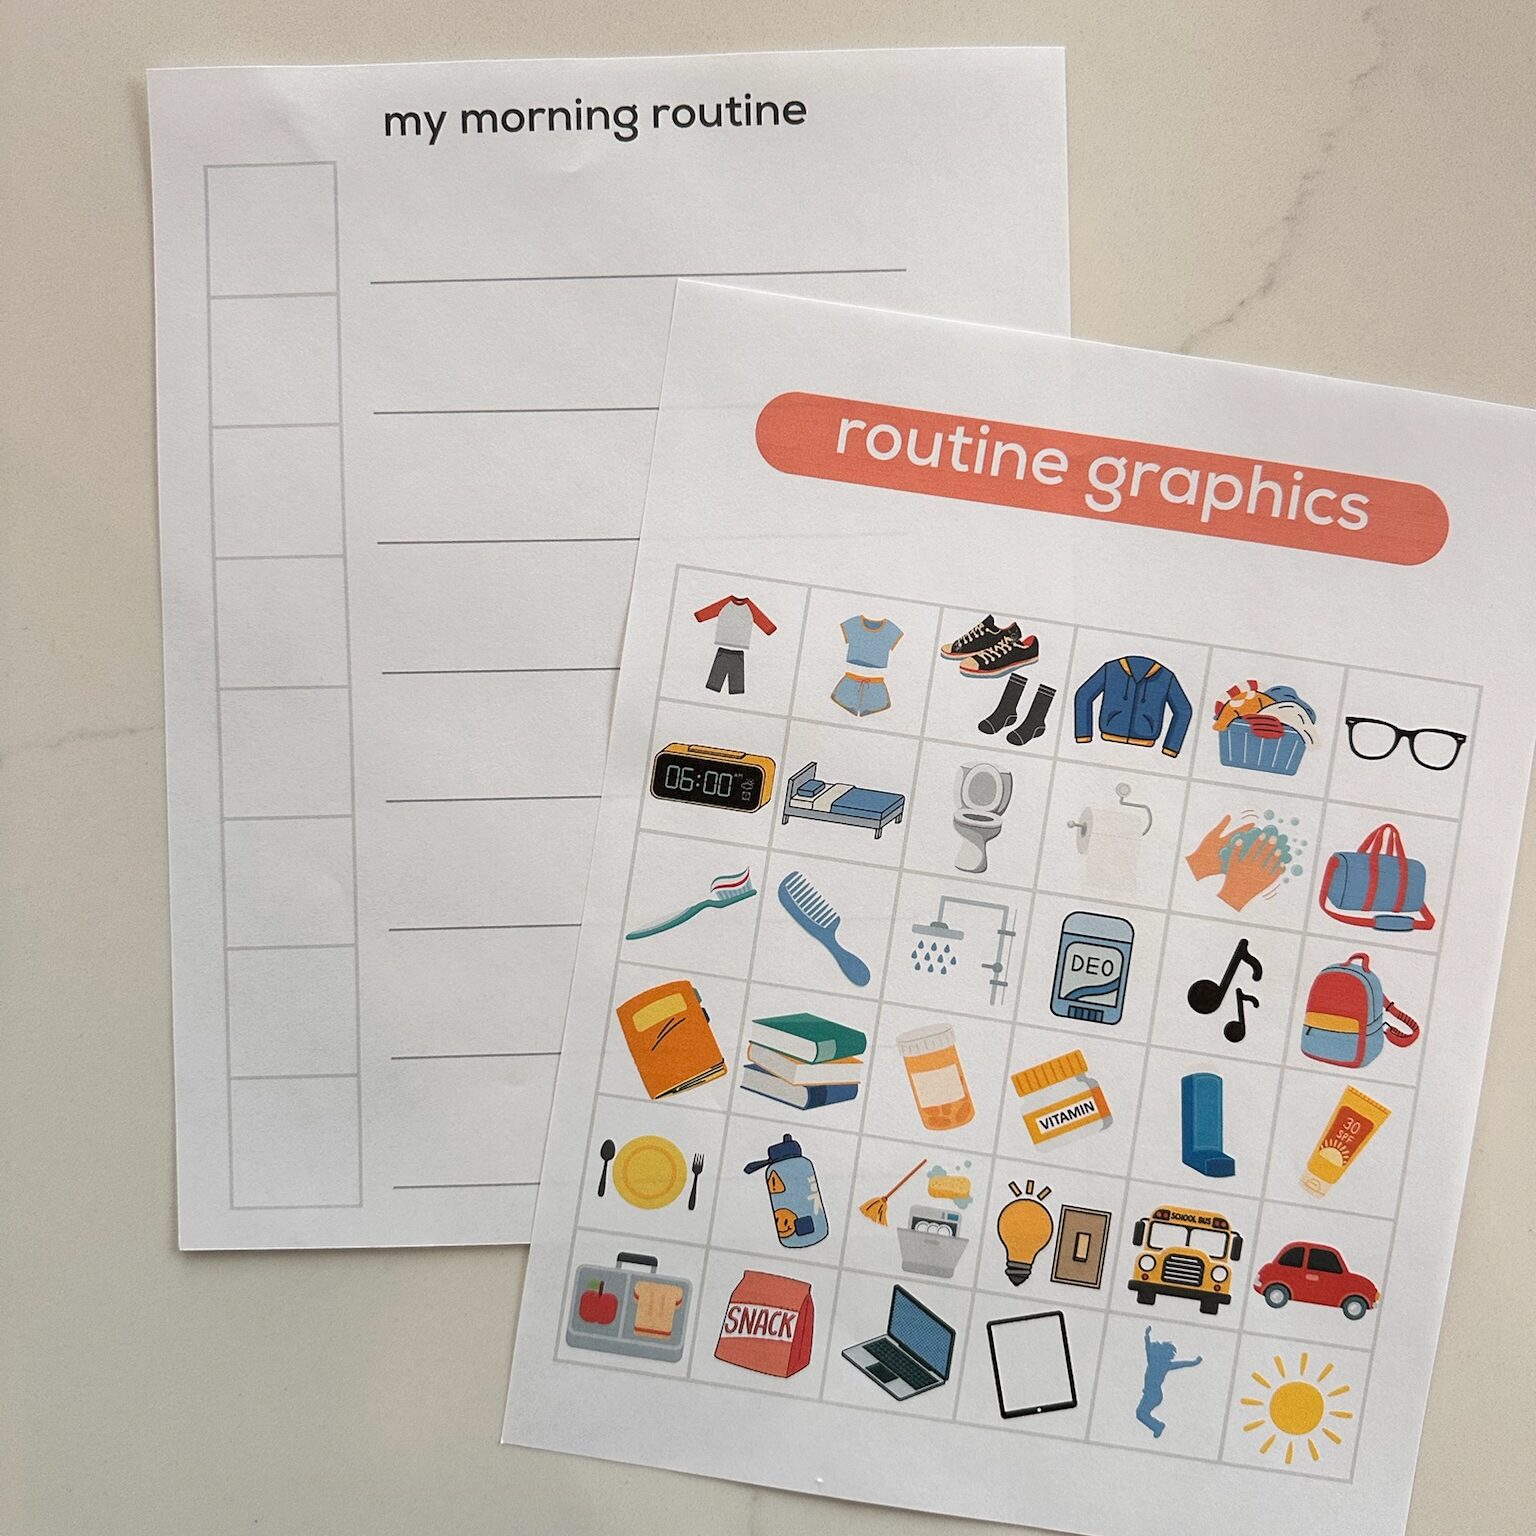
STEP ONE: PRINTING
Begin by printing your PDFs; color is best, but not required – your child can add colors at the end if they want. If you’re looking to save paper and printer ink, select just the pages you’ll need to make your visual routines (leave out the cover page, directions, and “connect with us!” page).
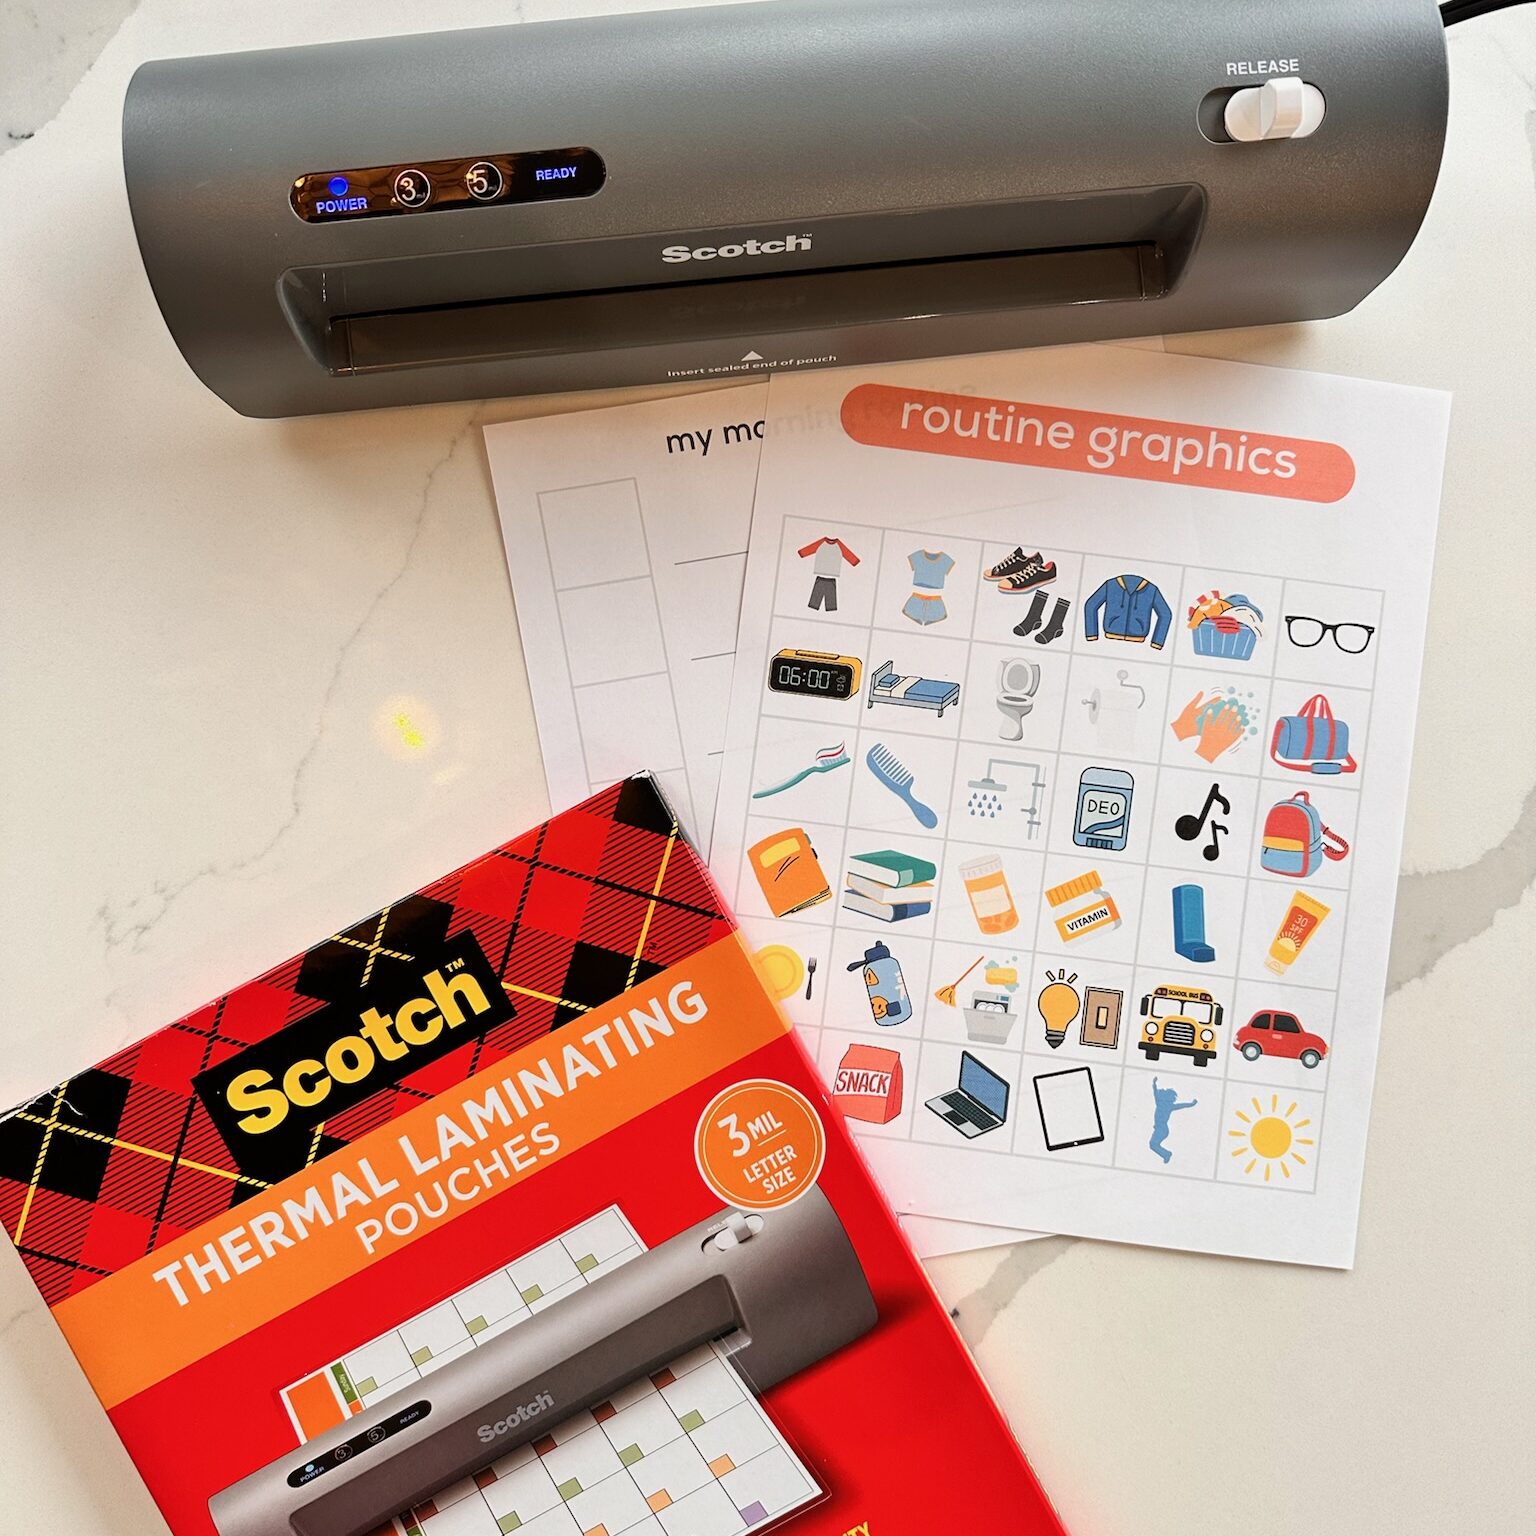
STEP TWO: LAMINATE (OPTIONAL)
If you’re like me, you never miss an opportunity to use a laminator and pouches. This step is absolutely not required to have a functional visual routine. But it *can* extend the life of your visual (no water damage or tears) and give you a little more flexibility with how it’s used. If you’re using a laminator, now is the time to laminate the graphics and the blank routine template.
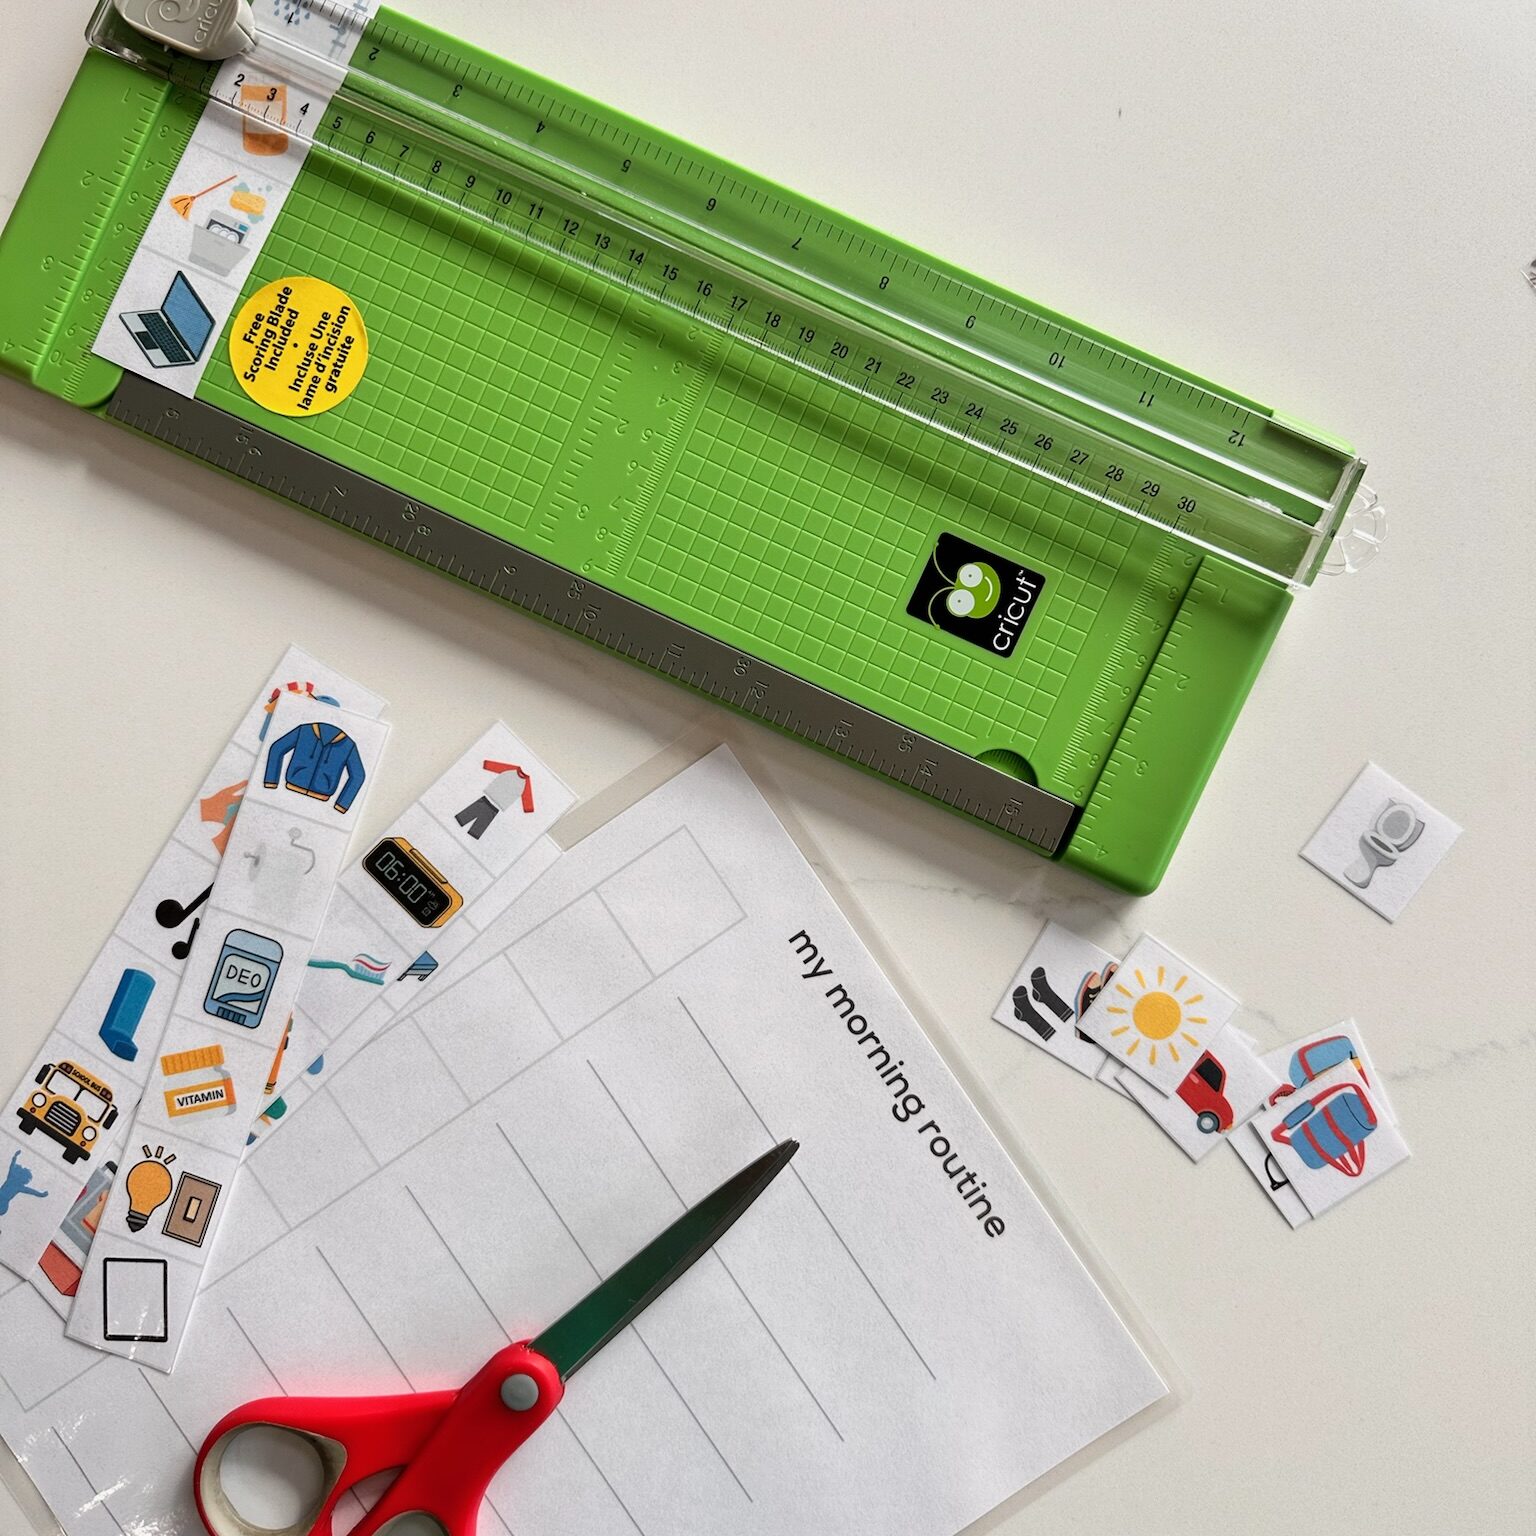
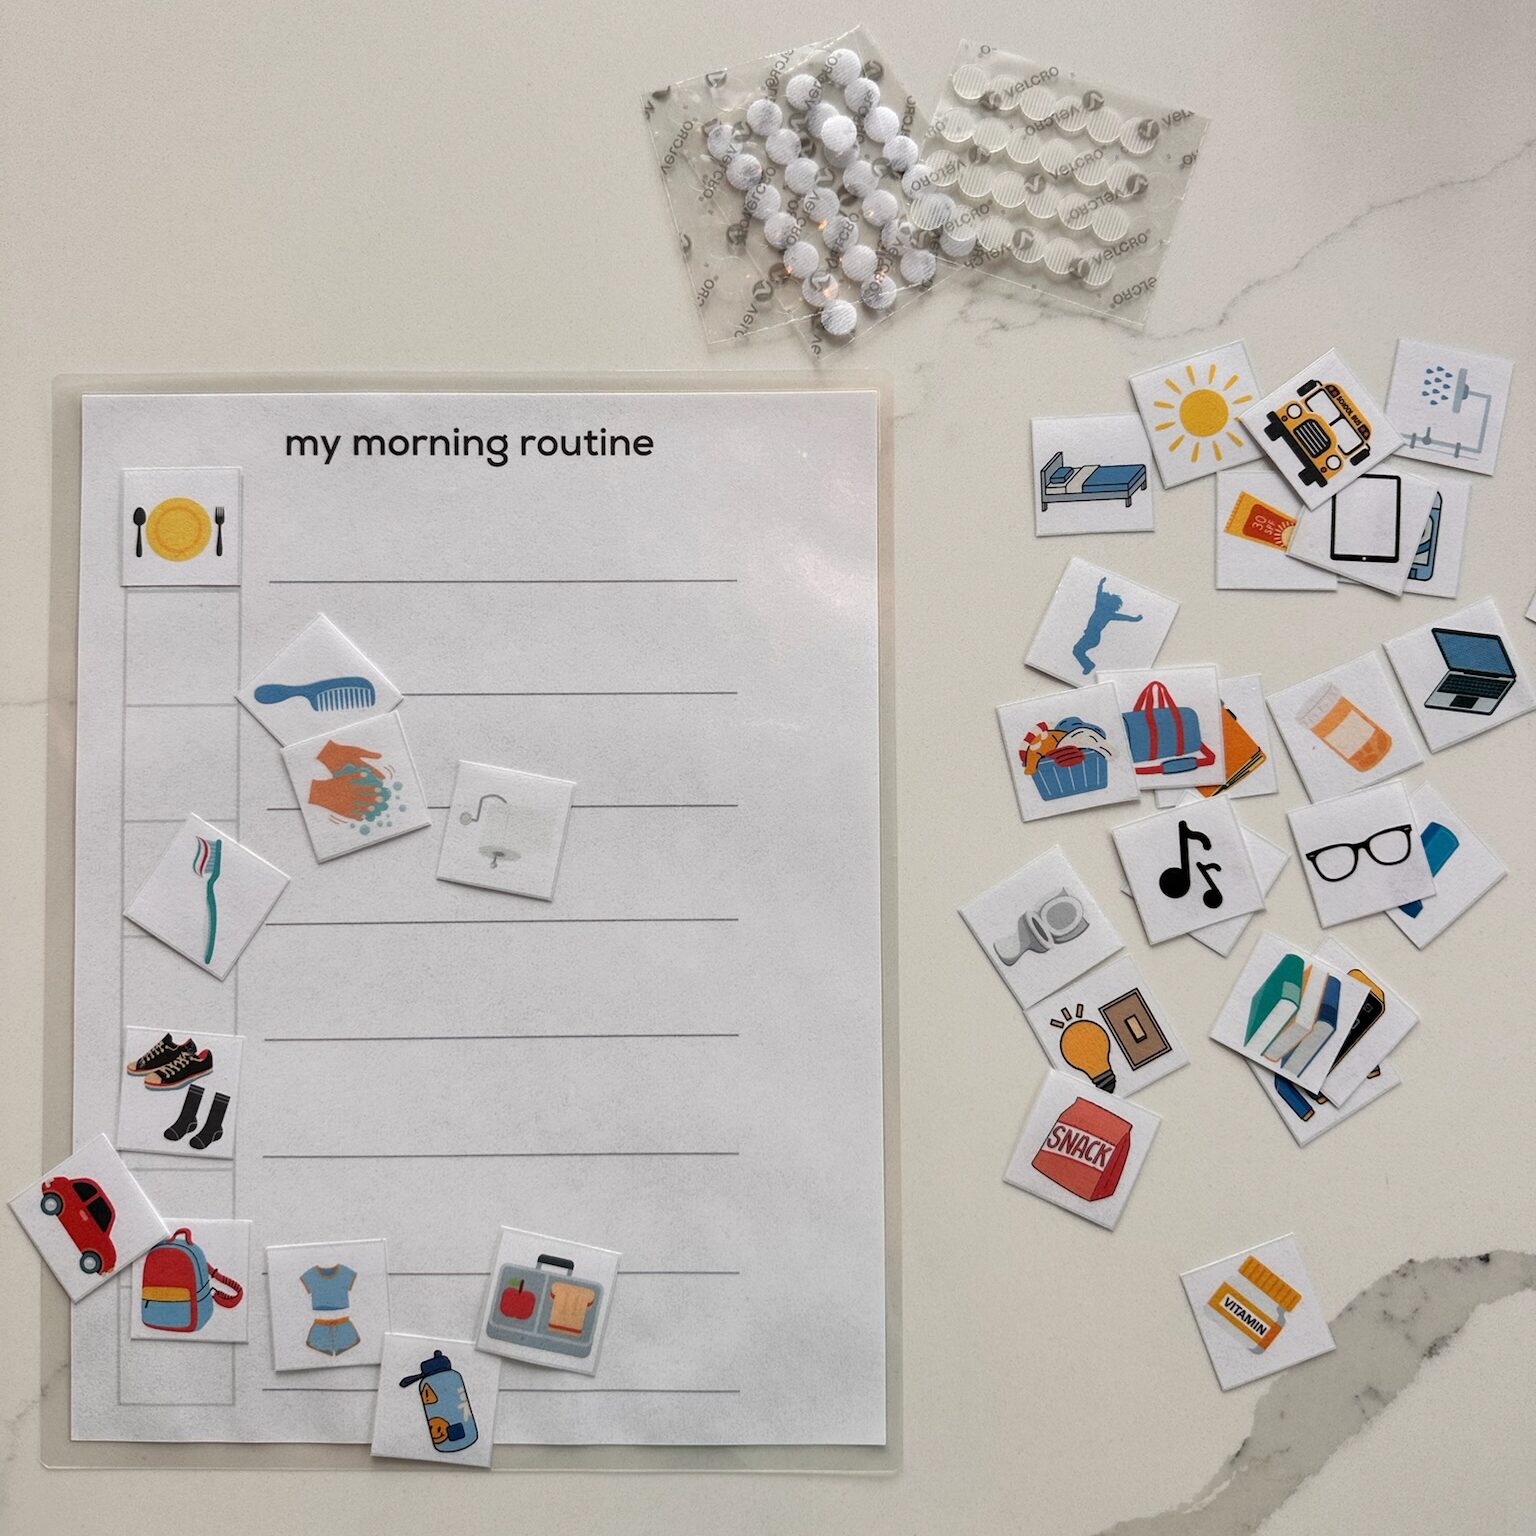
STEP THREE: CUT OUT GRAPHICS
Whether you have laminated graphics or not, now is the time to cut those out! Make quick work of it with a handy paper cutter or grab some scissors. Don’t forget to get your child involved in this process!
STEP FOUR: SELECT AND ORDER THE GRAPHICS
With your child, now is the time to decide which steps are essential for the routine you’re building. Once you’ve selected the graphics you need for your routine, consider the most logical order for your tasks. For example, does your child do all of their upstairs tasks before their downstairs tasks? Should your child take care of their hygiene activities before or after breakfast? Talk through the routine and place each step in their logical order.
Another consideration – is it just the “heading out the door” part of their routine that is most challenging? Maybe they don’t need a visual to walk them through all of their morning hygiene tasks and breakfast, but they need support for those last 10 minutes – putting shoes on, packing backpack, and remembering to turn off their bedroom light. Consider which part of the routine needs support, and use this visual routine to target the tricky part.

STEP FIVE: TWO OPTIONS
OPTION 1 (SIMPLE PREP OPTION): FINISHING UP
If you’ve opted for simplicity without lamination, here’s where you wrap up. Once you’ve selected which graphics to use and the order to put them in, glue the graphics in order on the blank template and write in a brief description on the line next to the graphic. For younger kids who are still learning to read, a simple description “potty” may be enough. For older kids, you may choose to elaborate based on that step of the routine “use bathroom and wash hands”.
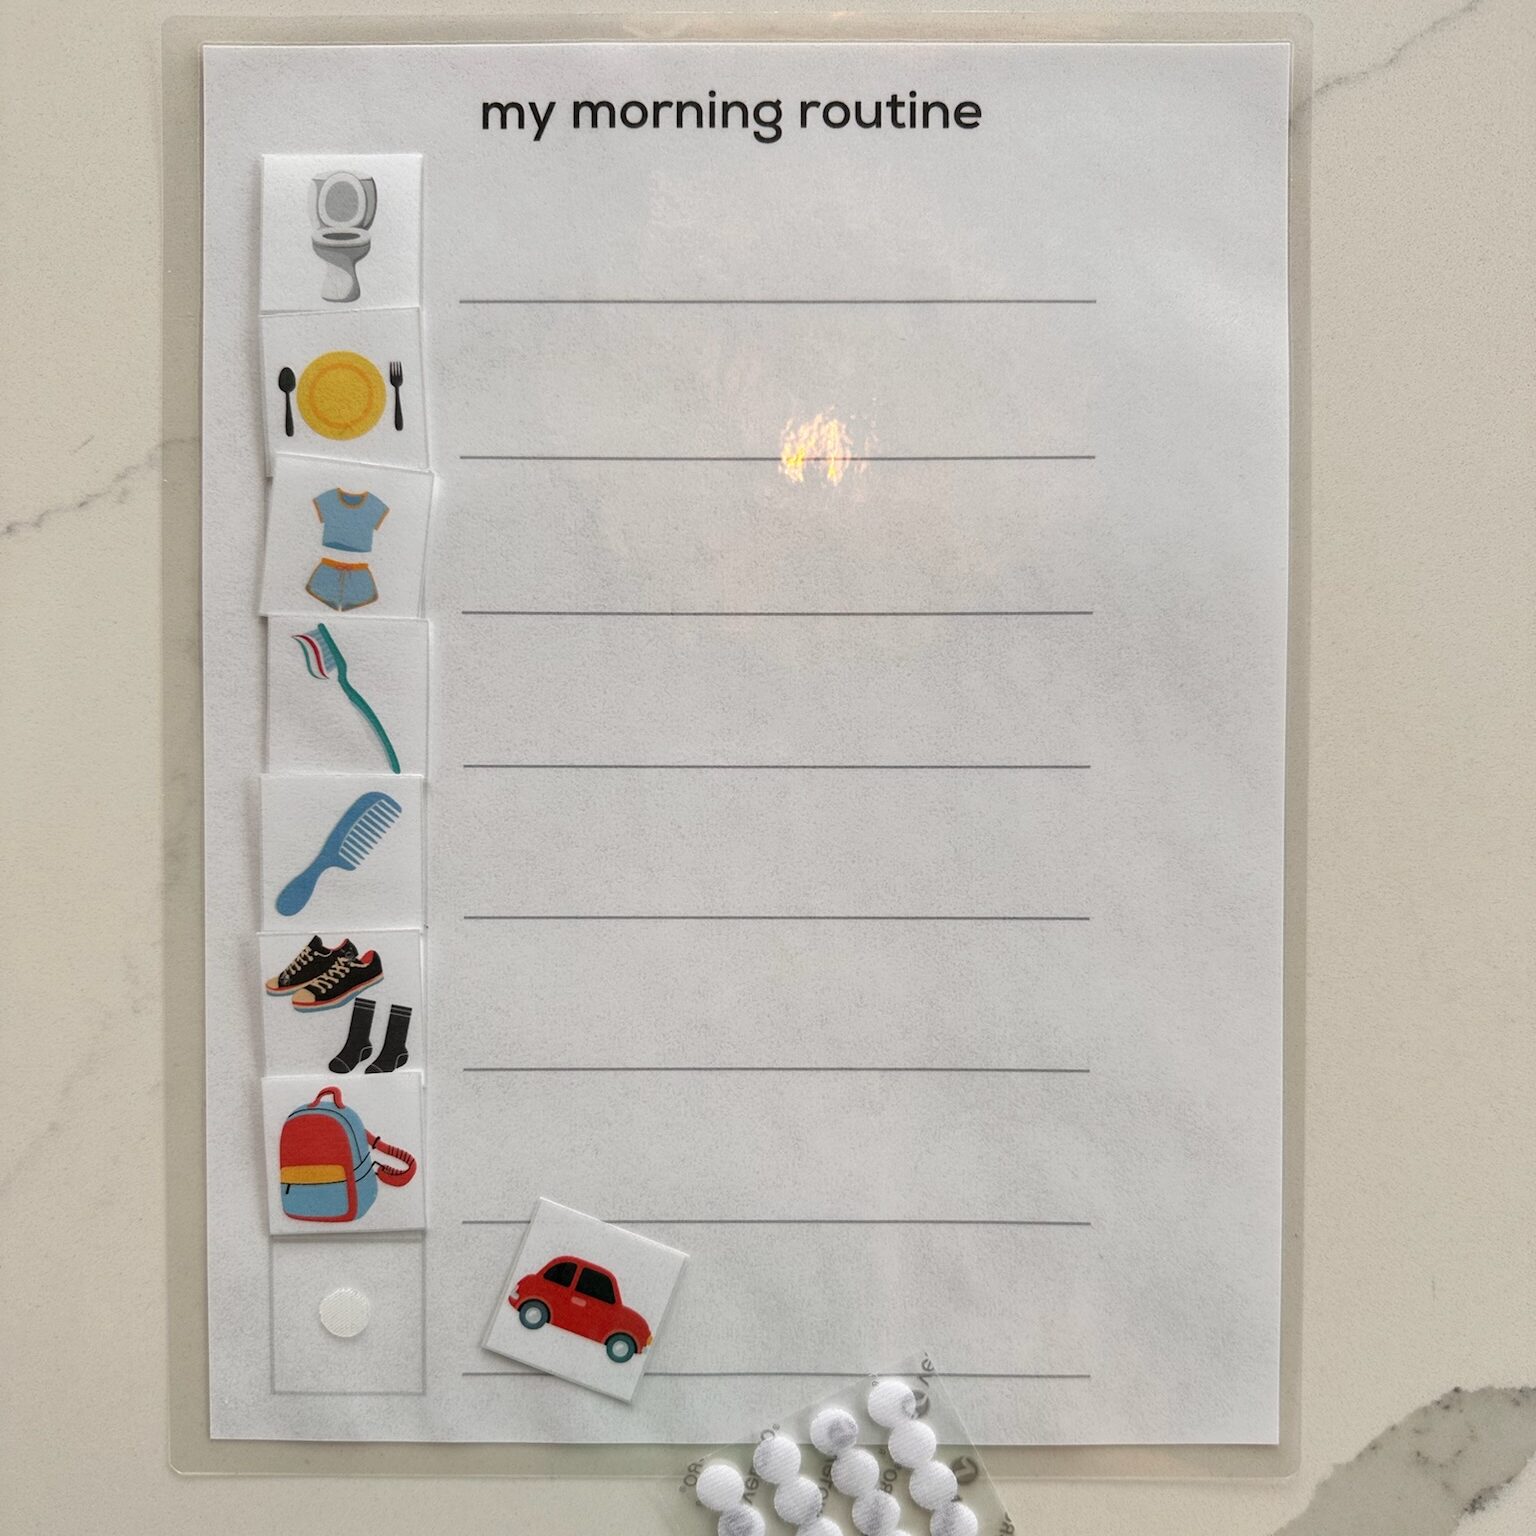
OPTION 2 (LAMINATION OPTION): ADD SOME VELCRO
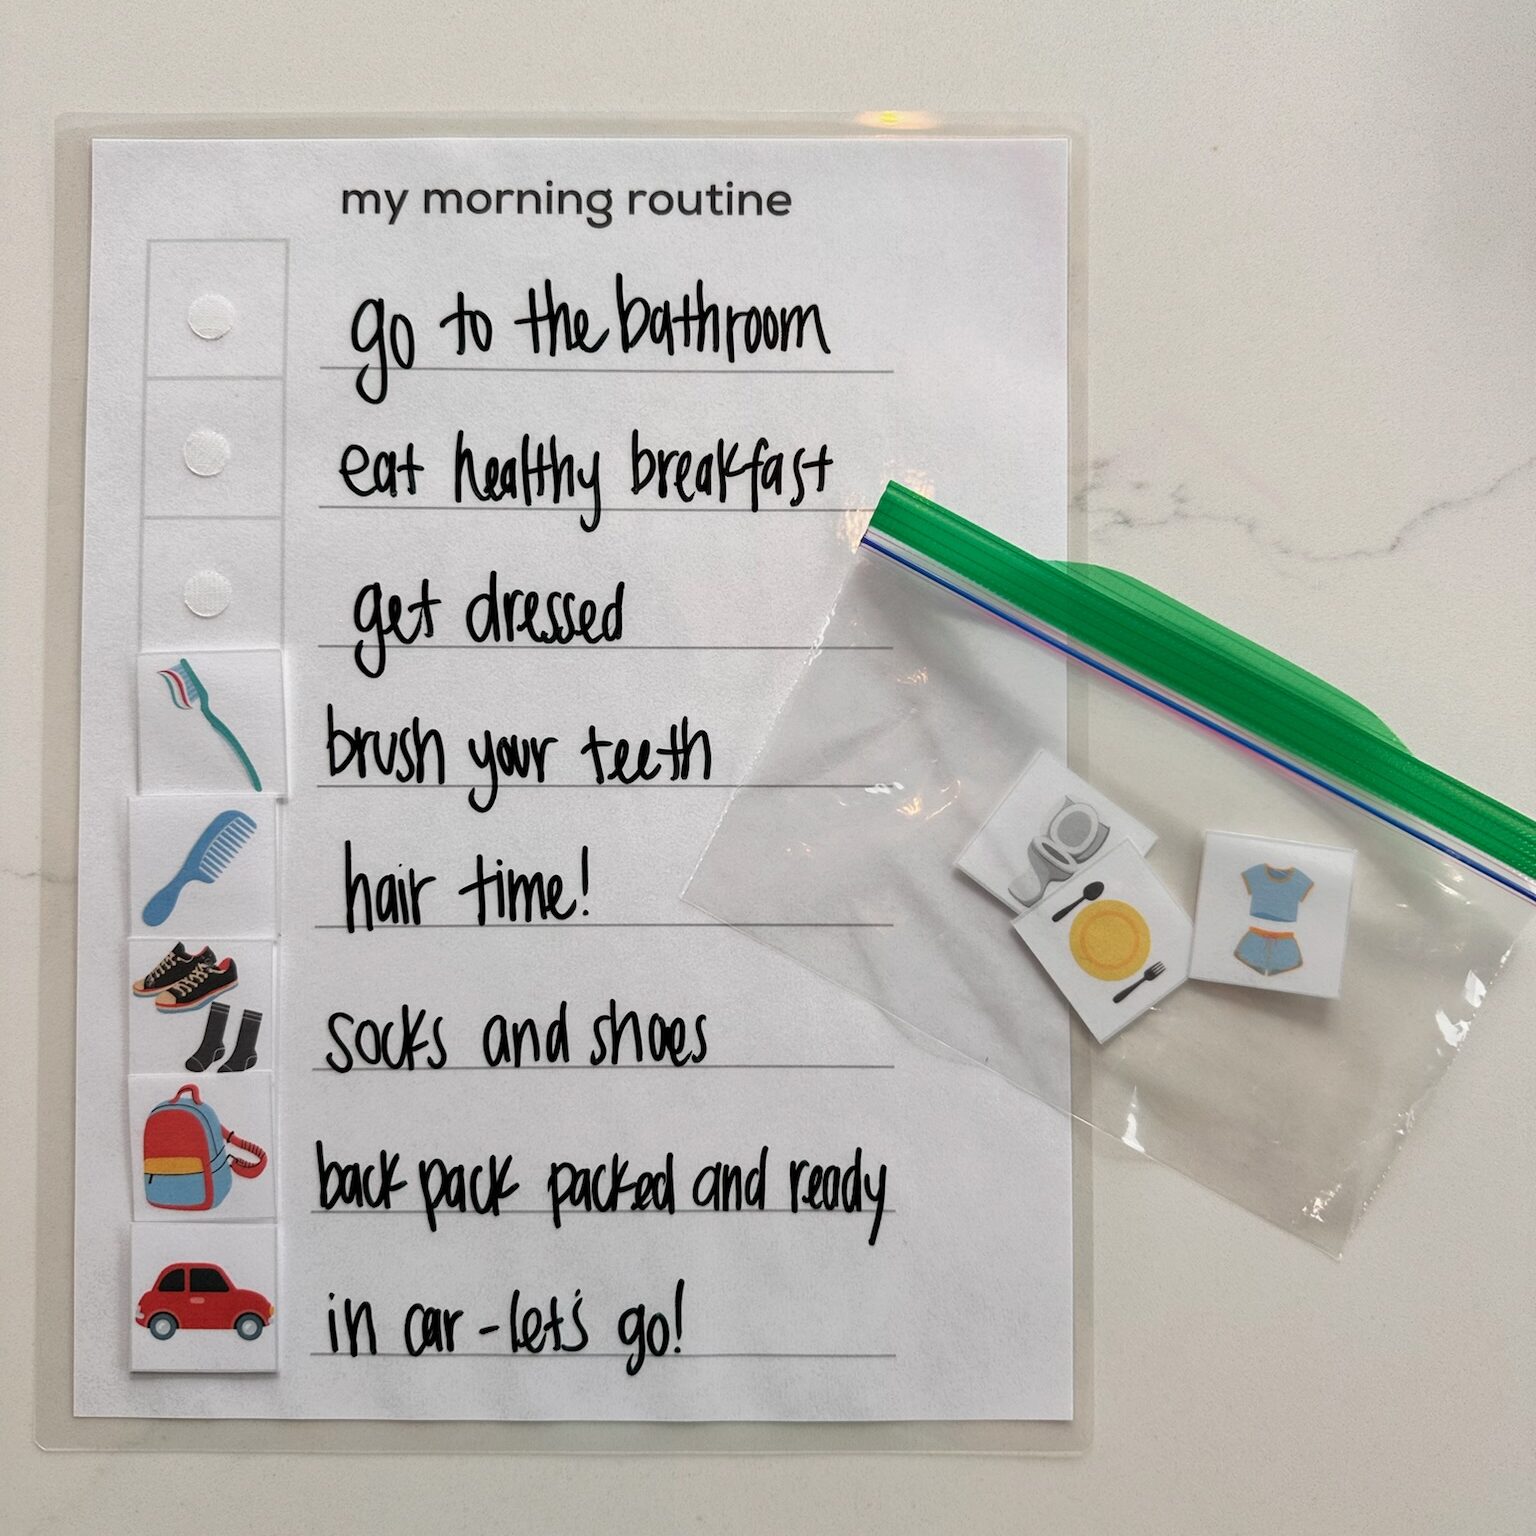
If you’ve decided to take the lamination route, we have found that Velcro is the best tool to attach the graphics to the template. These tiny Velcro dots work perfectly and even give a little fine motor practice. Be mindful to center the dots in the template squares along the left hand side, and then on the back of each individual graphic.
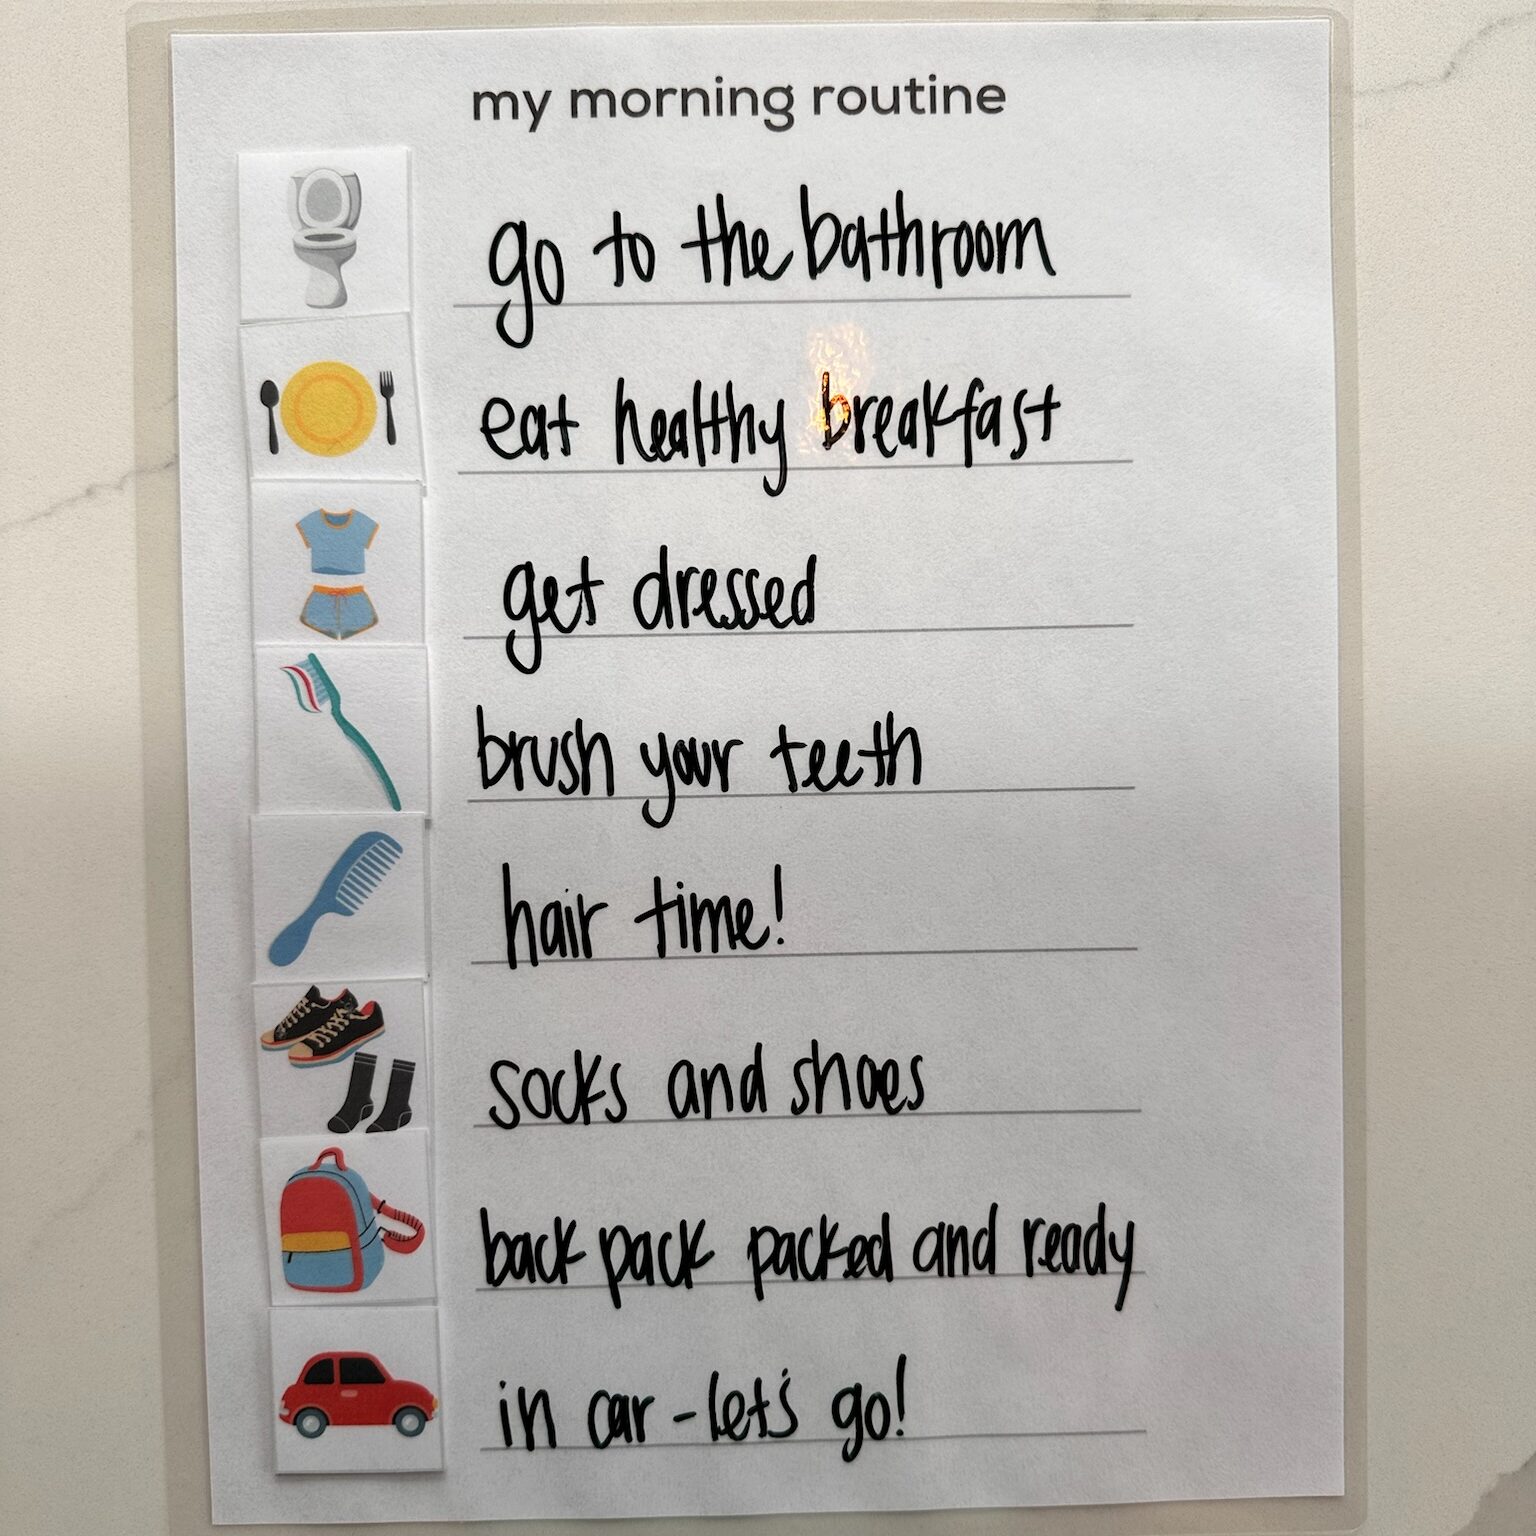
SIX: LABEL EACH STEP
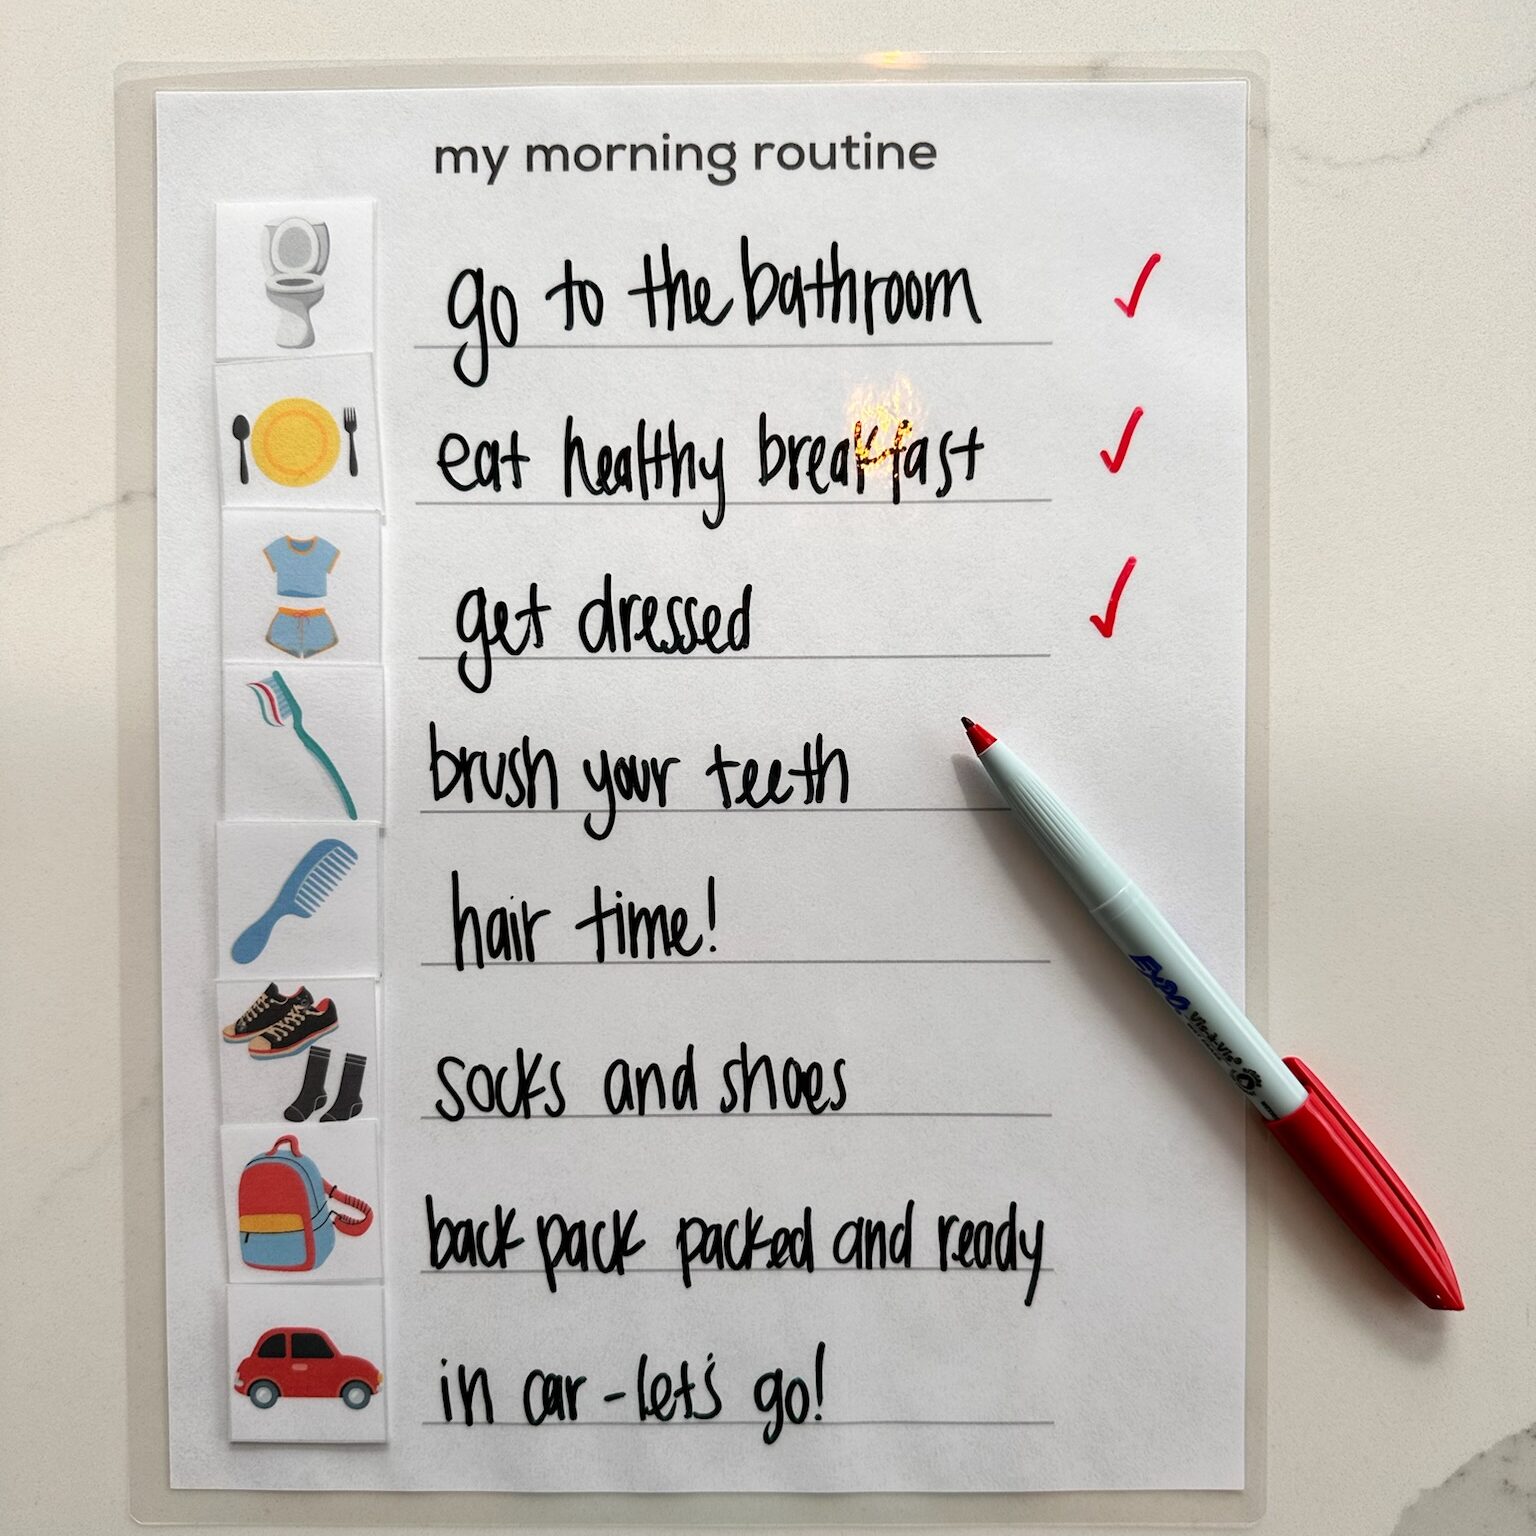
Label each step of your child’s routine. Wet erase markers work great on laminated routines but aren’t necessary (permanent markers and dry-erase markers also work). For younger kids who are still learning to read, a simple description “potty” may be enough. For older kids, you may choose to elaborate based on that step of the routine “use bathroom and wash hands”.
With lamination and wet-erase markers, you also have the most flexibility with switching up the routine as things change over time, or as you learn what works and what doesn’t for your child.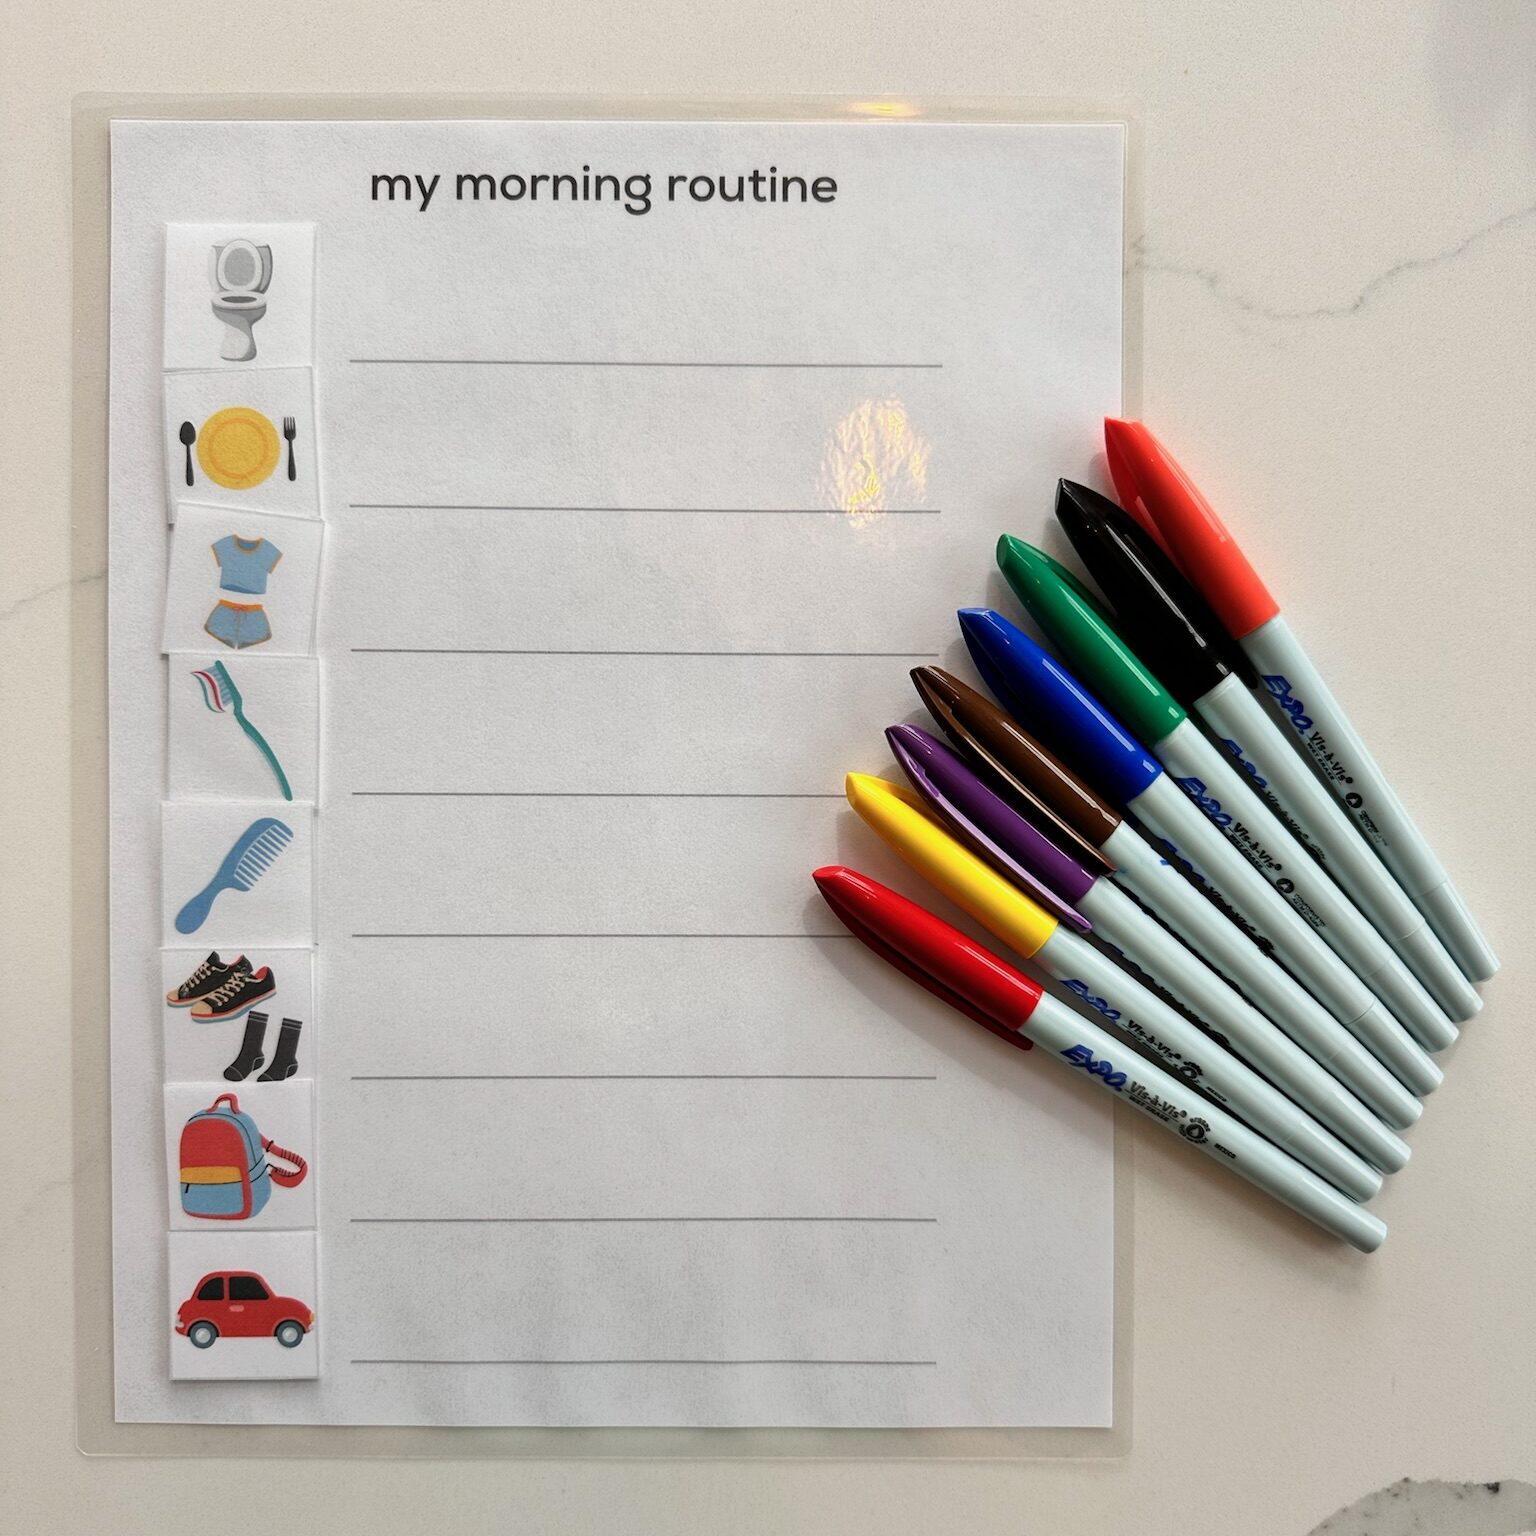
SEVEN: IDEAS FOR USE & PLACEMENT
When it comes time to actually use the visual routines, the lamination and Velcro gives you a few options. When kids can interact with the visual routine in some way, it makes it more likely they will follow through on the routine. Your child may prefer to check off each step of their routine with a wet-erase marker (simply wipe with a wet towel when routine is done). Many kids love to pull off each step of the routine as they go (thanks, Velcro!) and place it in an envelope or baggie hung next to their routine. Get your child’s thoughts on how they would like to show progress on their routine!
Be sure to put the visual routine at the point of need – that is, where your child will actually be using it. You don’t want your child to be running up and down the stairs all morning to check of their tasks. Some kids even prefer to have an upstairs checklist and and downstairs checklist, if their routine allows. Get creative, and most importantly – get your child’s input and help. Printable routines for ADHD kids can be a game changer when it is a collaborative process.
OPTION 3:
Here’s a third prep option that’s a hybrid option between Option 1 and 2. Print out your visuals, cut out graphics BEFORE laminating, glue them to the blank template in your desired order, write in the descriptions, and THEN laminate your prepared routine. You’ll have the longevity of the laminated visual but won’t have to deal with Velcro. Your child can check off steps of the routine as they go with the wet-erase or dry-erase marker.
And there you have it – 3+ different ways to use printable routines for ADHD kids, with varying degrees of prep involved. Choose the option that works best for your family, and remember you can print the PDF as much as you’d like – so don’t be afraid to switch things up as needs change.
Let us know how it goes… we are here to support!
All the love,
Lori, Katie, and Mallory


+ show Comments
- Hide Comments
add a comment